
Get to know your eSIM
Note: For security reasons, once the eSIM you purchased is downloaded and installed, it cannot be installed and used on other terminals.
Install eSIM
There are two ways to install:
Method 1: Scan the QR code
A. Purchase eSIM data package and you will receive a QR code and eSIM install information via App or email
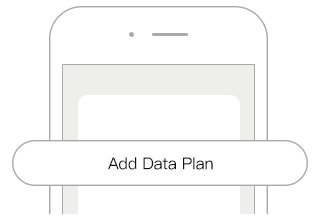
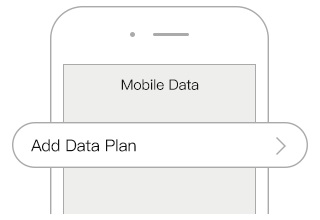
B. Using your terminal, [Settings]->[Mobile Data]->[Add a New Plan]->[Scan QR Code]


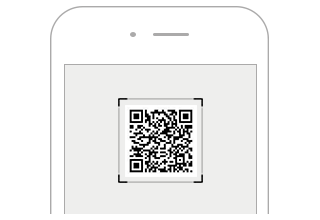
C. Scan QR code to install
D. Name the installed eSIM for easy recognition, such as U-Asia, U-Europe
Method 2: Manual Input
A. Purchase eSIM data package and you will receive a QR code and eSIM install information via App or email
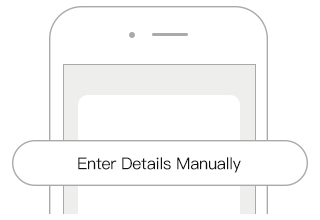
B. Using your terminal, [Settings]->[Mobile Data]->[Add a New Plan]->[Enter Details Manually]

C. Enter the eSIM install information where required, include SM-DP+ etc.
D. Name the installed eSIM for easy recognition, such as U-Asia, U-Europe
Turn on data roaming
Different terminals have different user-interface to setup data roaming. Please check with the manufacturer of your terminal. If you need to turn on data roaming you can use the following for reference
IOS terminals
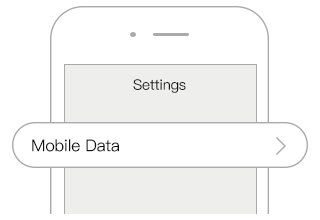
A. [Settings] -> [Mobile Data]

B. Turn on [Mobile Data]
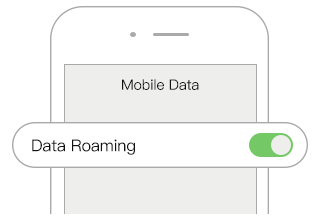
C. [Mobile Data Options] -> turn on [Data Roaming] [Enable LTE]
Android terminals
A. [Settings] -> [Wireless and network]->[Mobile network]
B. Turn on [Mobile data] -> Turn on [Data roaming]

C. [Preferred network mode] -> Choose[4G/3G/3G auto]
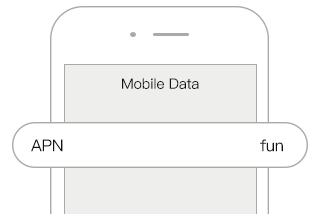
APN Setting
APN needs to be set. For specific APN information, please check the details of the purchased data package, the following is for reference only:
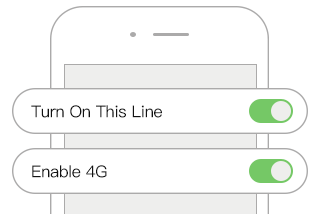
IOS terminals
A. [Settings] -> [Mobile Data]

B. Turn on [Mobile Data]

C. Click the corresponding [Cellular Phone Number Label] -> [Enable this number] [Enable 4G]
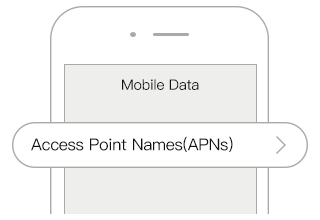
D. Click [APN Settings] -> Enter the [APN], leave the other areas blank
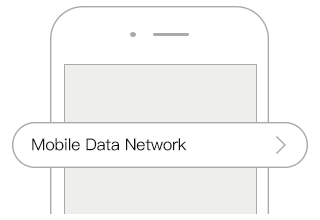
Android terminals
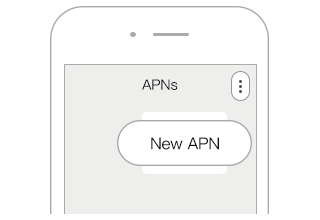
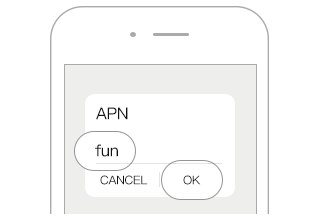
A. [Settings] -> [Wireless and network]

B. Turn on [Mobile network]

C. Click [Access Point Name (APNs)] -> [New APN] -> enter the [APN], and leave the other areas blank